
Microcement in the bathroom
matte, mineral, waterproof.
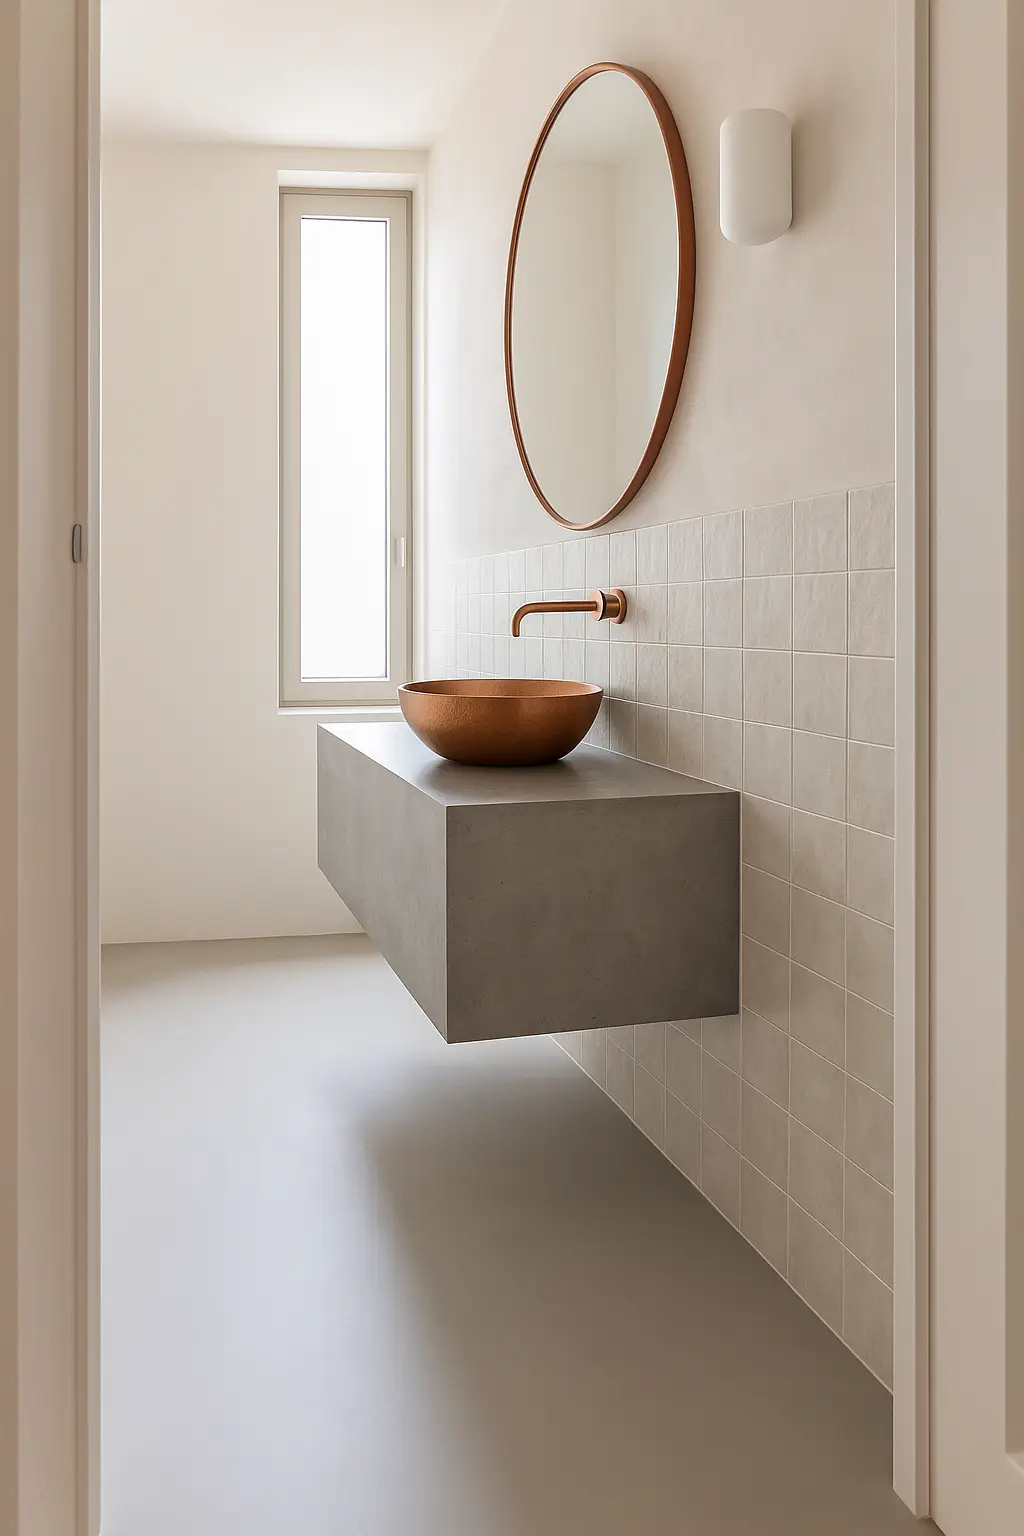
A seamless, mineral wall finish with a matte concrete look — no grout lines, no tile edges, one continuous surface from floor to ceiling, in the colour you choose.
One surface, no joints
Microcement is a mineral wall finish with a matte concrete look. No grout lines where limescale or mould can settle — one continuous surface, hand-applied with a trowel.
Available in 36 standard colours, plus bespoke options in NCS, RAL and RAL Design.
For the bathroom floor we recommend Lavasteen Seamless Floor — epoxy-based, waterproof even if the top coat is damaged.
From wall to shower enclosure
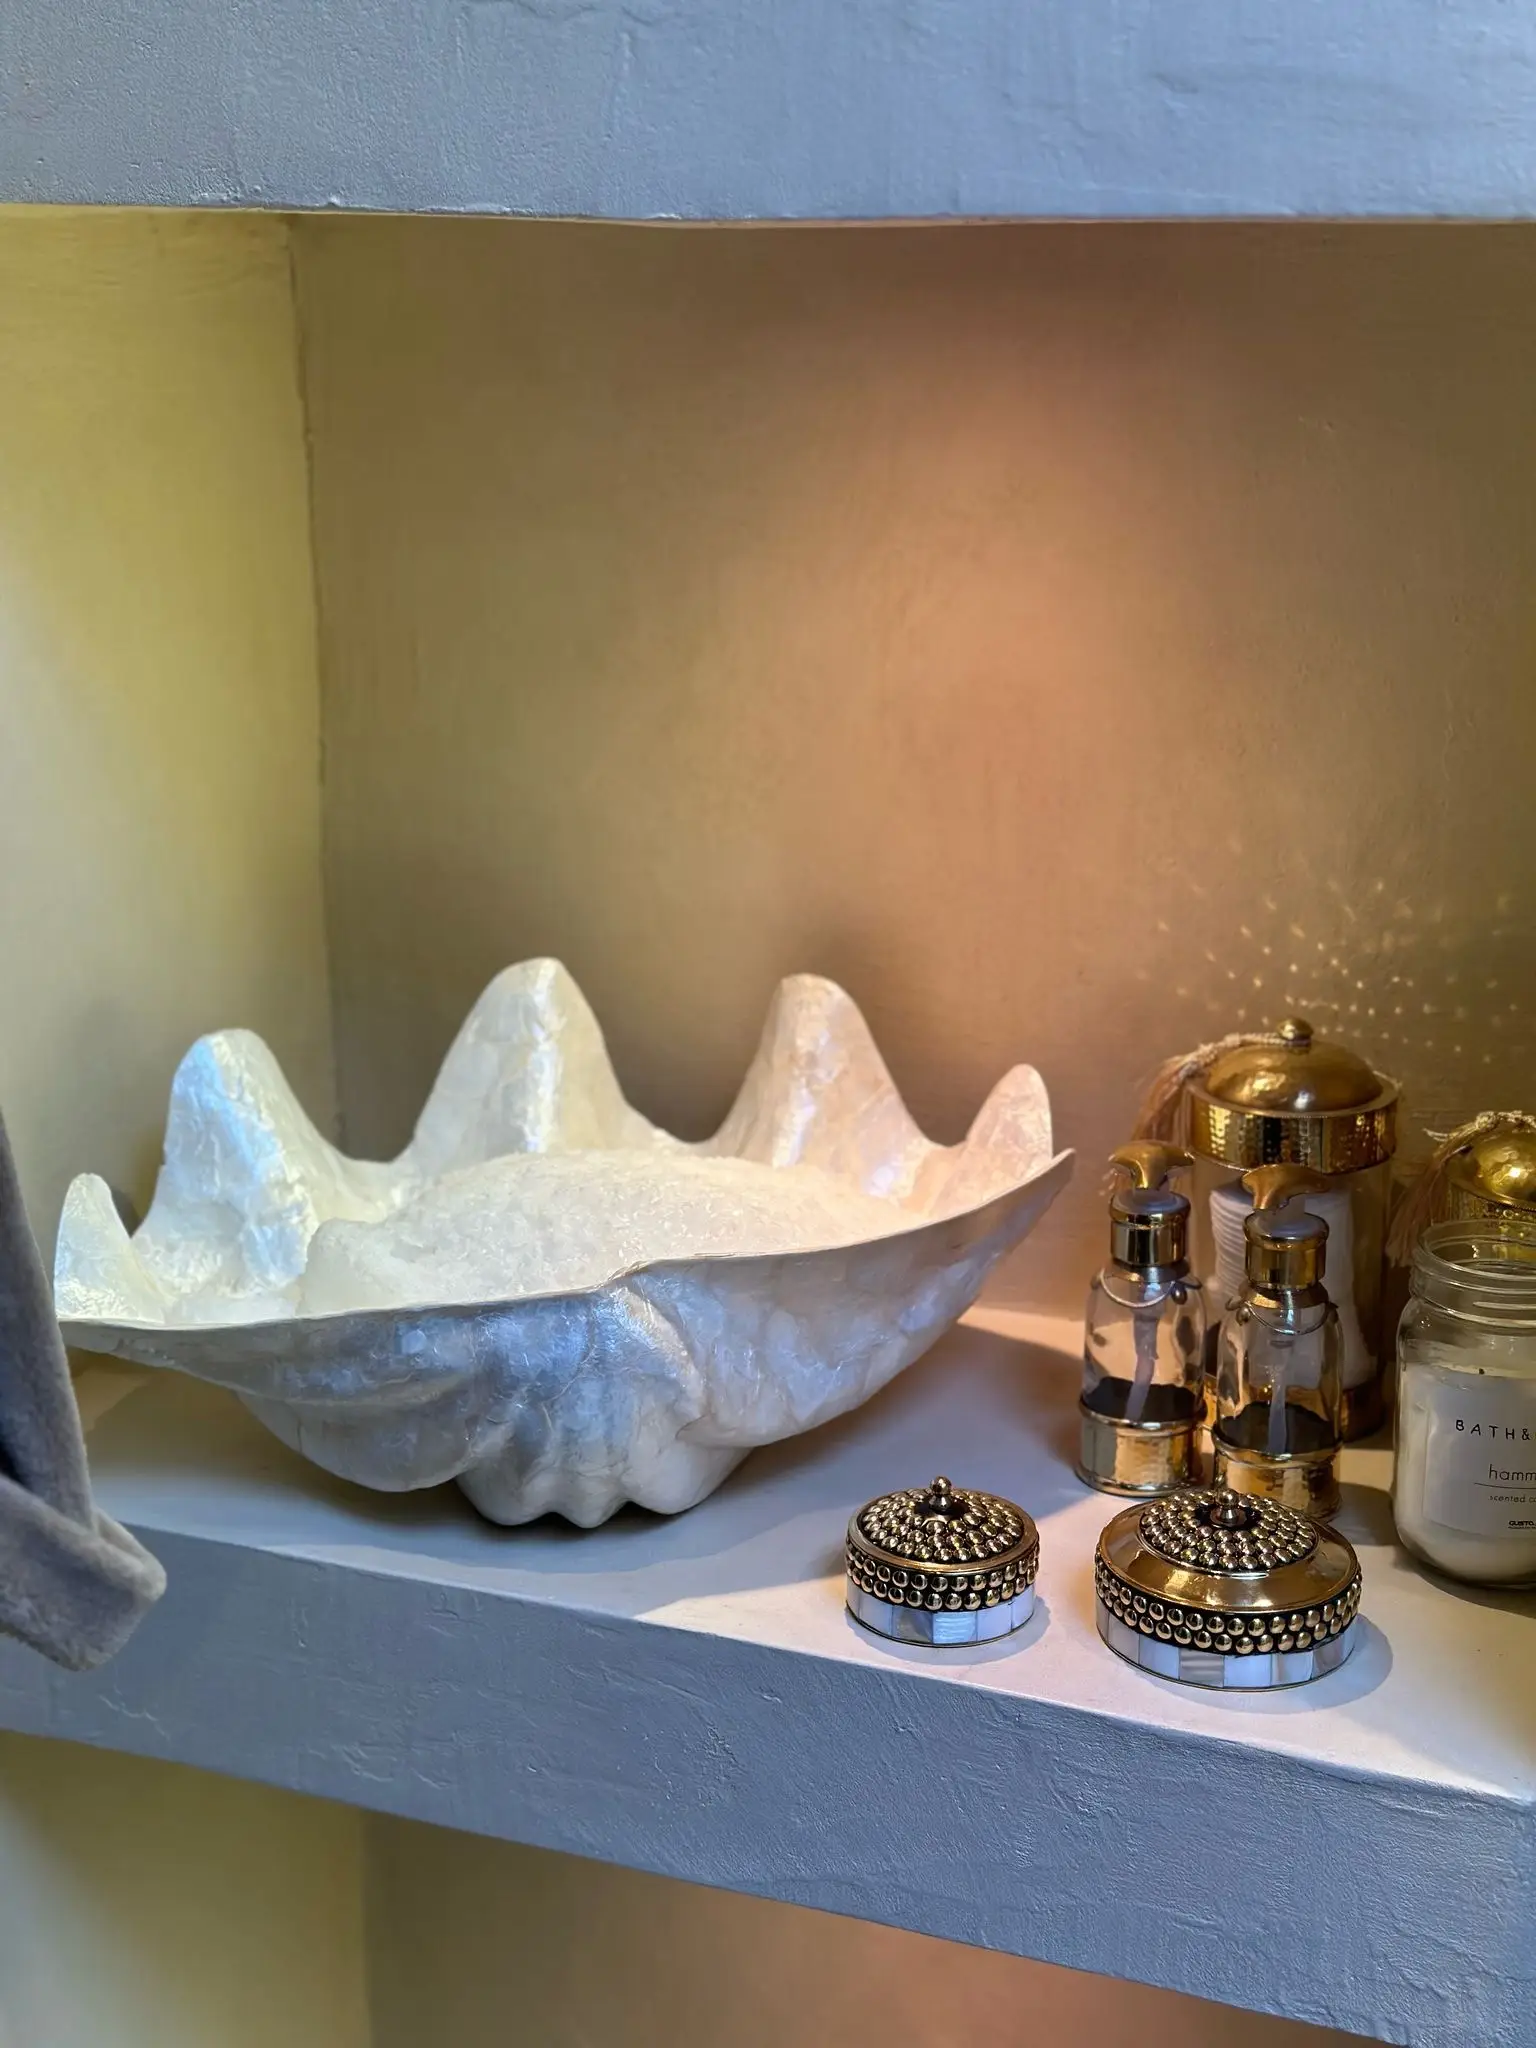
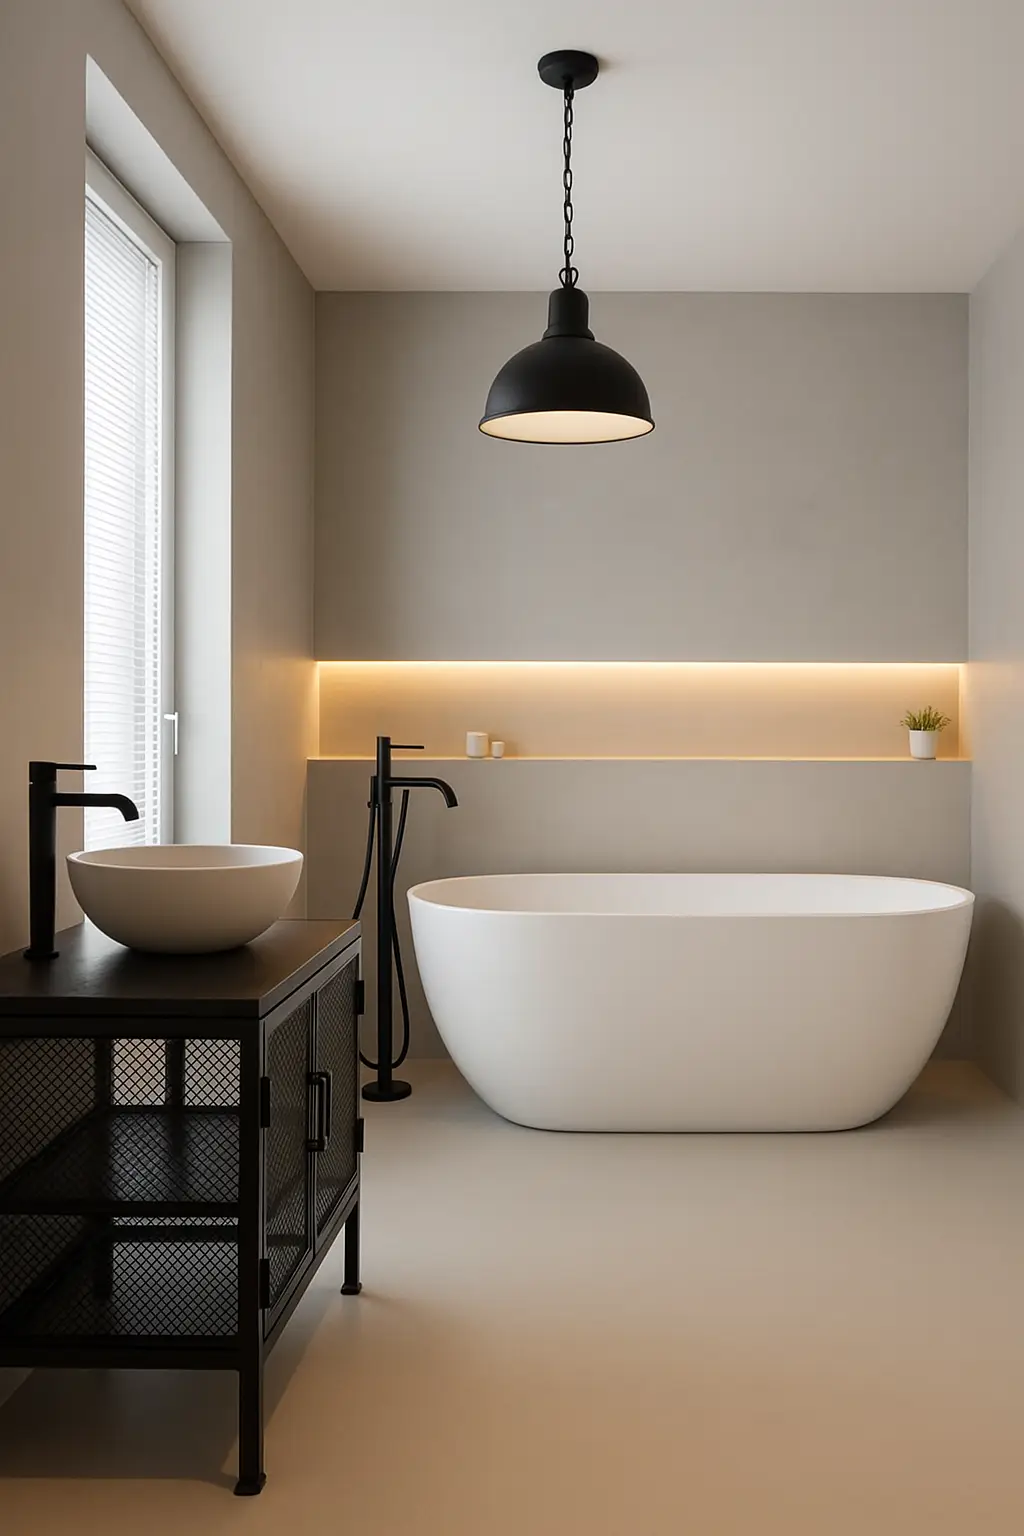
Microcement goes beyond just a calm bathroom wall. On the shower wall, around the mirror and recessed niche, or as a seamless vanity casing — anywhere you want a matte, grout-free finish.
Even in combination with natural stone, wood or black steel, the aesthetic remains calm and premium. The matte mineral finish reflects no light and never dominates — it allows the other materials to shine.
What lies beneath the finish
Why microcement in a bathroom
A bathroom demands a finish that handles water, steam and daily use without issue. Microcement with PU topcoat is excellently suited for this on the wall — precisely where you seek calm and uniformity.
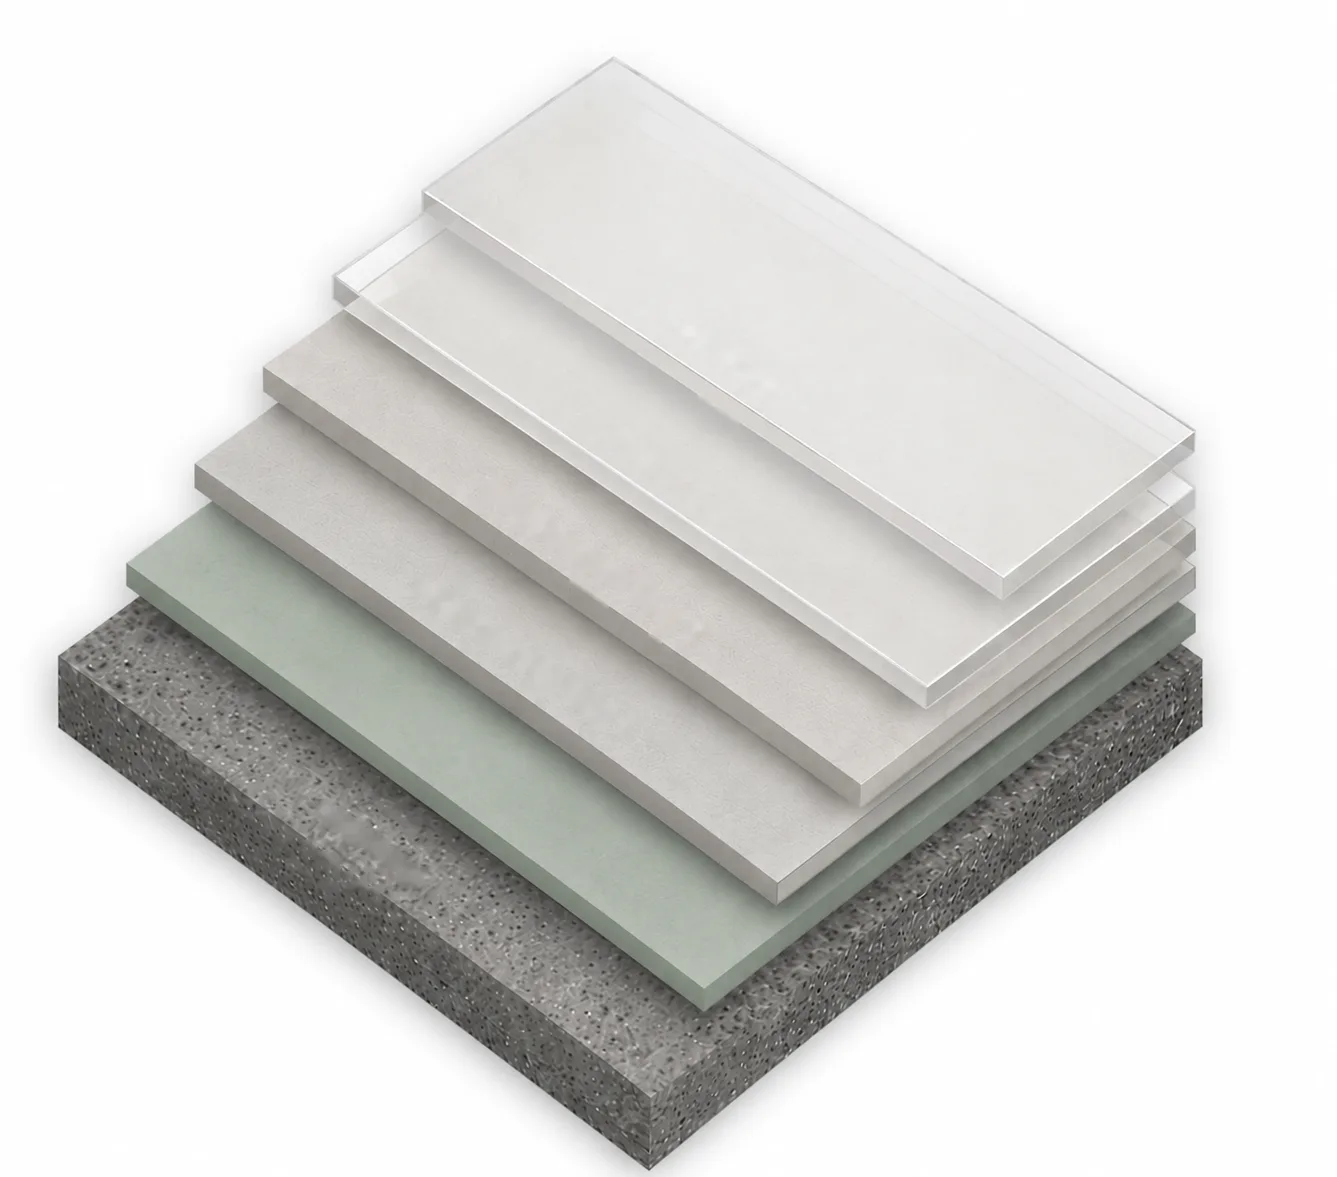
Waterproof through PU — when properly finished
Microcement is inherently mineral and attracts moisture. That's why we always finish it with a PU topcoat: a transparent layer that seals the surface waterproof. For bathroom walls we apply two to three layers — making the wall fully resistant to splashing water, steam and condensation.
The glass-sheet analogy
Think of the PU topcoat as a glass sheet over the microcement. As long as that sheet remains intact, no moisture can penetrate — everything stays waterproof. On a wall, that glass sheet remains intact for years: nothing ever falls on it, nothing scrapes past it. The waterproofing endures.
Why not on the bathroom floor
Objects can fall on a floor — a perfume bottle, a hairdryer, tools. This can damage the PU top coat and then moisture penetrates the mineral beneath. That is why we recommend Lavasteen Seamless Floor for bathroom floors — epoxy-based, intrinsically waterproof and resistant to damage.
Colour choice in bathroom light
A bathroom often has multiple lighting situations: daylight through a window or skylight, bright LED light above the mirror, ambient lighting. A microcement wall looks slightly different under each type of lighting — always test with colour samples in the location where you want to see it. We visit for a survey so we can advise the right shade.
Maintenance that suits daily use
Daily wiping with a damp cloth suffices. Weekly mopping with a pH-neutral product prevents limescale build-up. No aggressive cleaning agents, no scouring sponges — these can eventually damage the PU topcoat. Even stubborn soap residue can be removed with ordinary soapy water.
Lavasteen Seamless Floor
Epoxy-based, waterproof even when damaged
Lavasteen Seamless Floor is a seamless epoxy floor with ground lava stone incorporated — 1 to 2 mm thick, hard and compact throughout. The epoxy matrix is intrinsically waterproof, even if the top layer is damaged.
For bathroom floors, that's the difference between years of satisfaction and costly water damage down the line. Lavasteen receives one layer of UV-resistant PU topcoat — sufficient for protection and ease of maintenance, whilst the natural matteness and anti-slip properties are preserved.
Unsure whether to choose microcement or another material? View the full comparison at seamless bathroom — with pricing factors and the honest disadvantages.