Seamless bathroom
one continuous surface.
A seamless bathroom has walls and floors finished in one continuous material. No tiles, no grout lines, no silicone joints that discolour after a few years. Below we compare the materials, honestly address the drawbacks and show what's involved in terms of cost — professional installation or DIY.
What is a seamless bathroom?
In a seamless bathroom, wall and floor are finished with a material that is hand-applied or poured — as one continuous surface. There are no grout lines where limescale or mould can take hold, and no tile edges that interrupt the visual flow. This makes the bathroom easier to keep clean and visually calmer; small bathrooms in particular appear larger as a result.
'Seamless' refers to the finish itself: transitions to sanitary ware and the shower drain naturally remain.
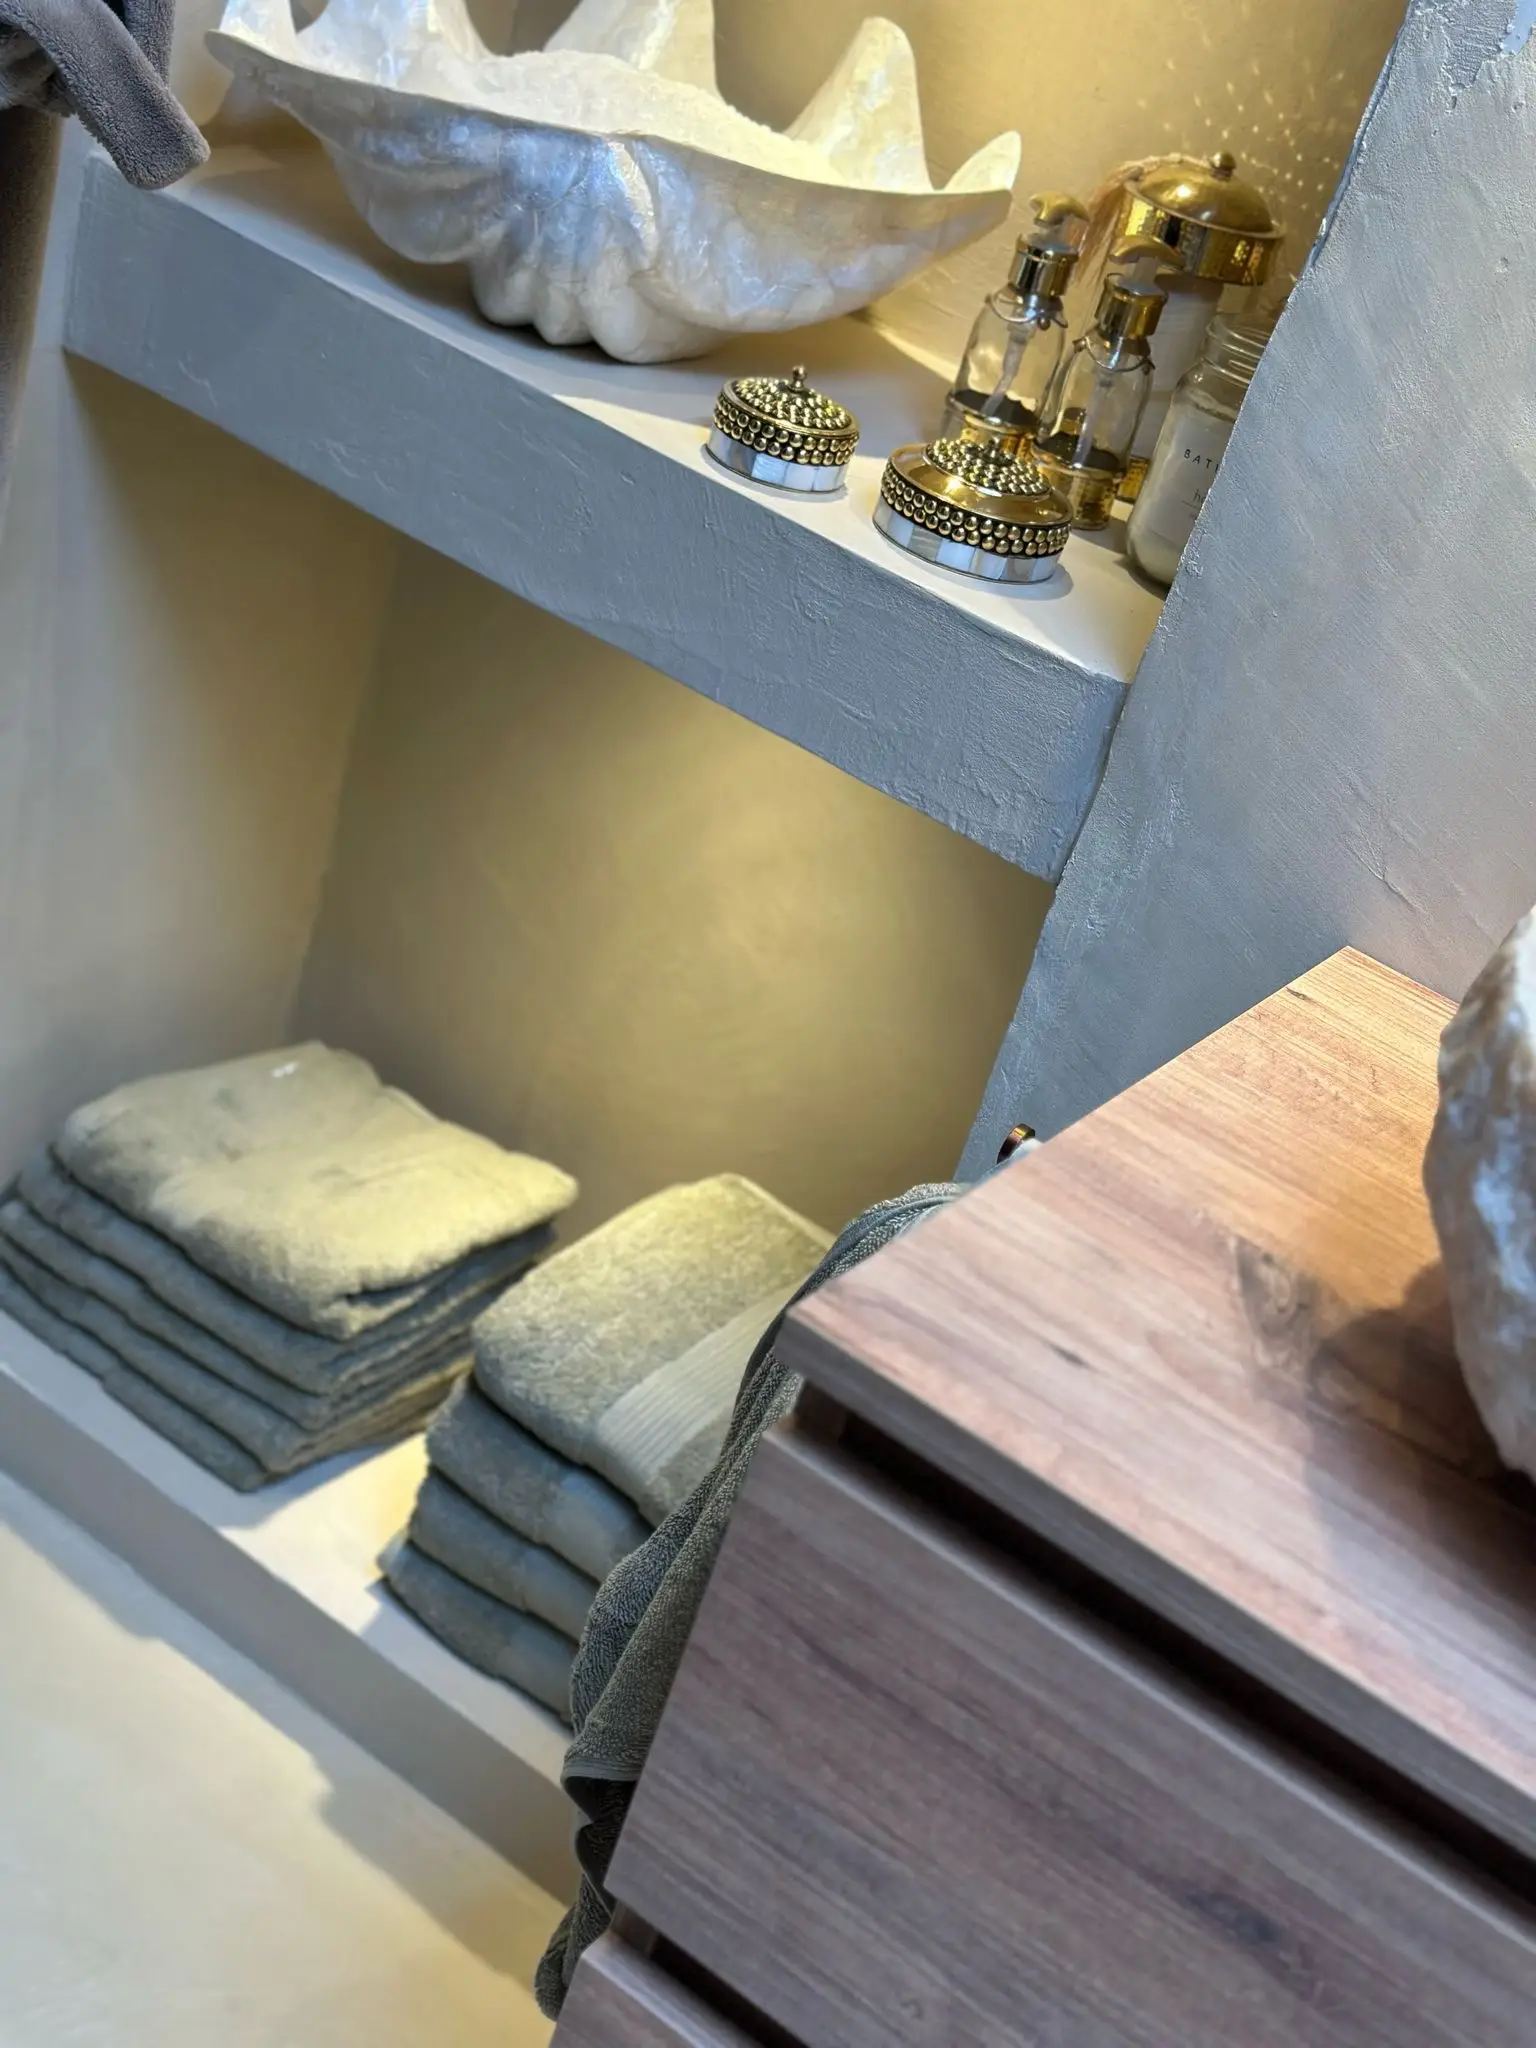
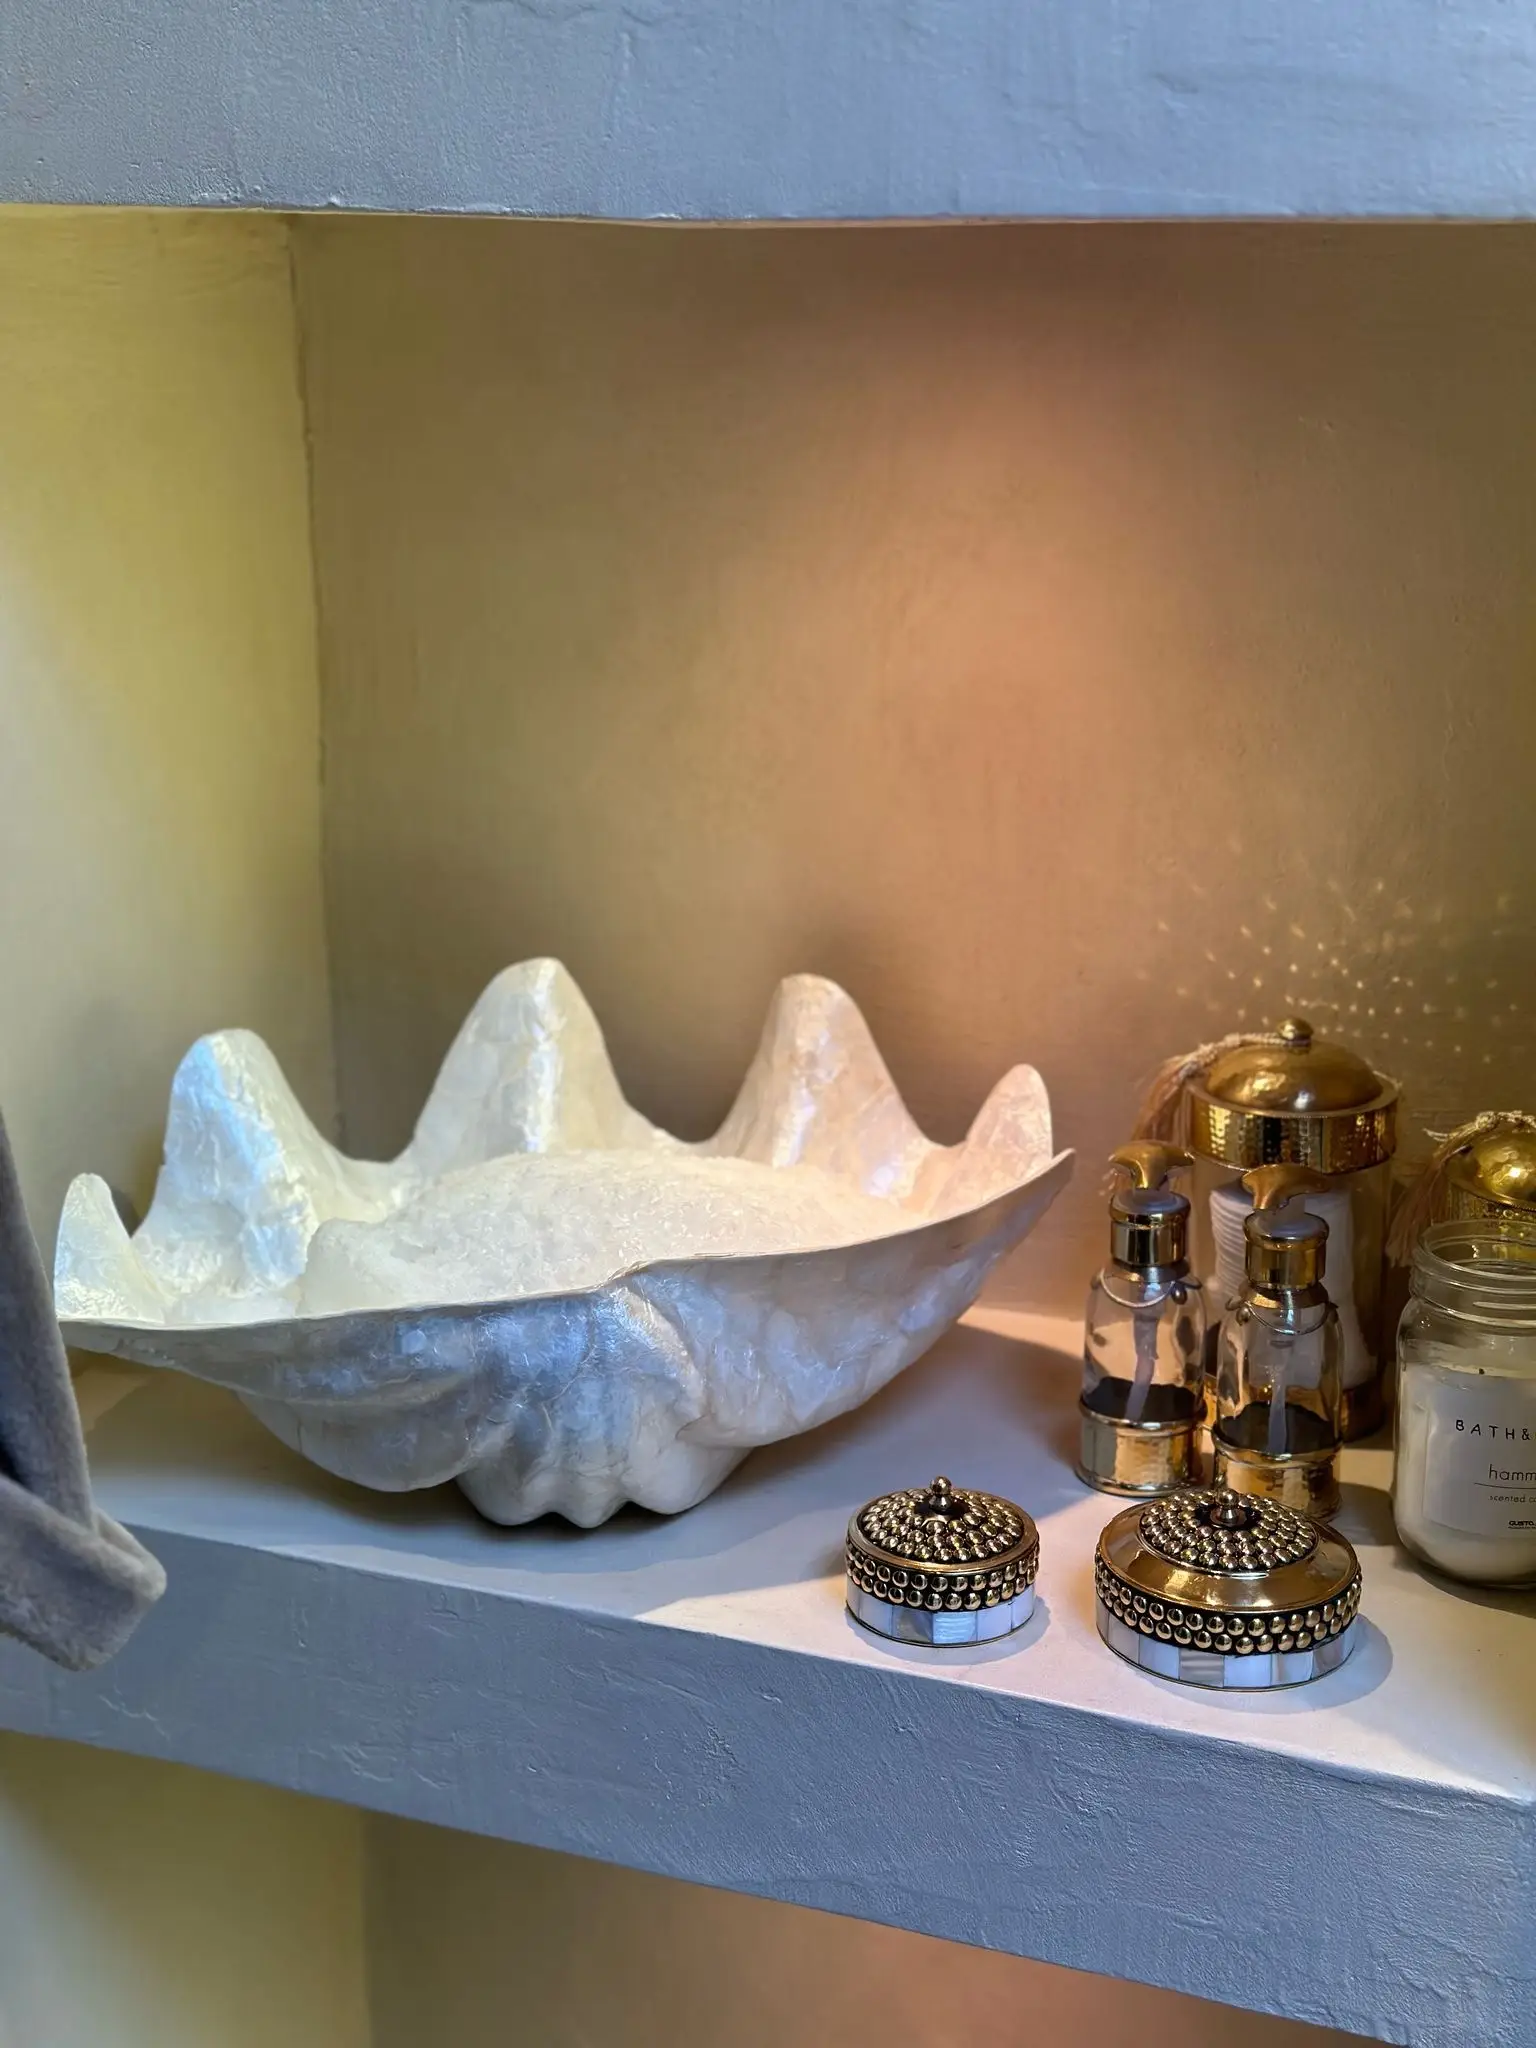
Microcement for the wall, Lavasteen for the floor
Microcement is a mineral wall finish with a matte concrete look, 1 to 2 millimetres thick. Waterproof thanks to two to three coats of PU topcoat. Nothing ever happens to the wall — the topcoat does its job for decades. Available in 36 standard colours, plus bespoke in NCS, RAL and RAL Design. Read more at microcement in the bathroom.
Lavasteen Resin Floor is a trowel-applied finish with ground lava stone in epoxy. The difference from microcement: the epoxy matrix is waterproof in itself — even if the top layer is scratched or damaged. Slip-resistant due to the natural granular structure. That's why it's our standard recommendation for the bathroom floor and shower floor. 20 standard colours, NCS and RAL on request. Read more at Lavasteen in the bathroom.
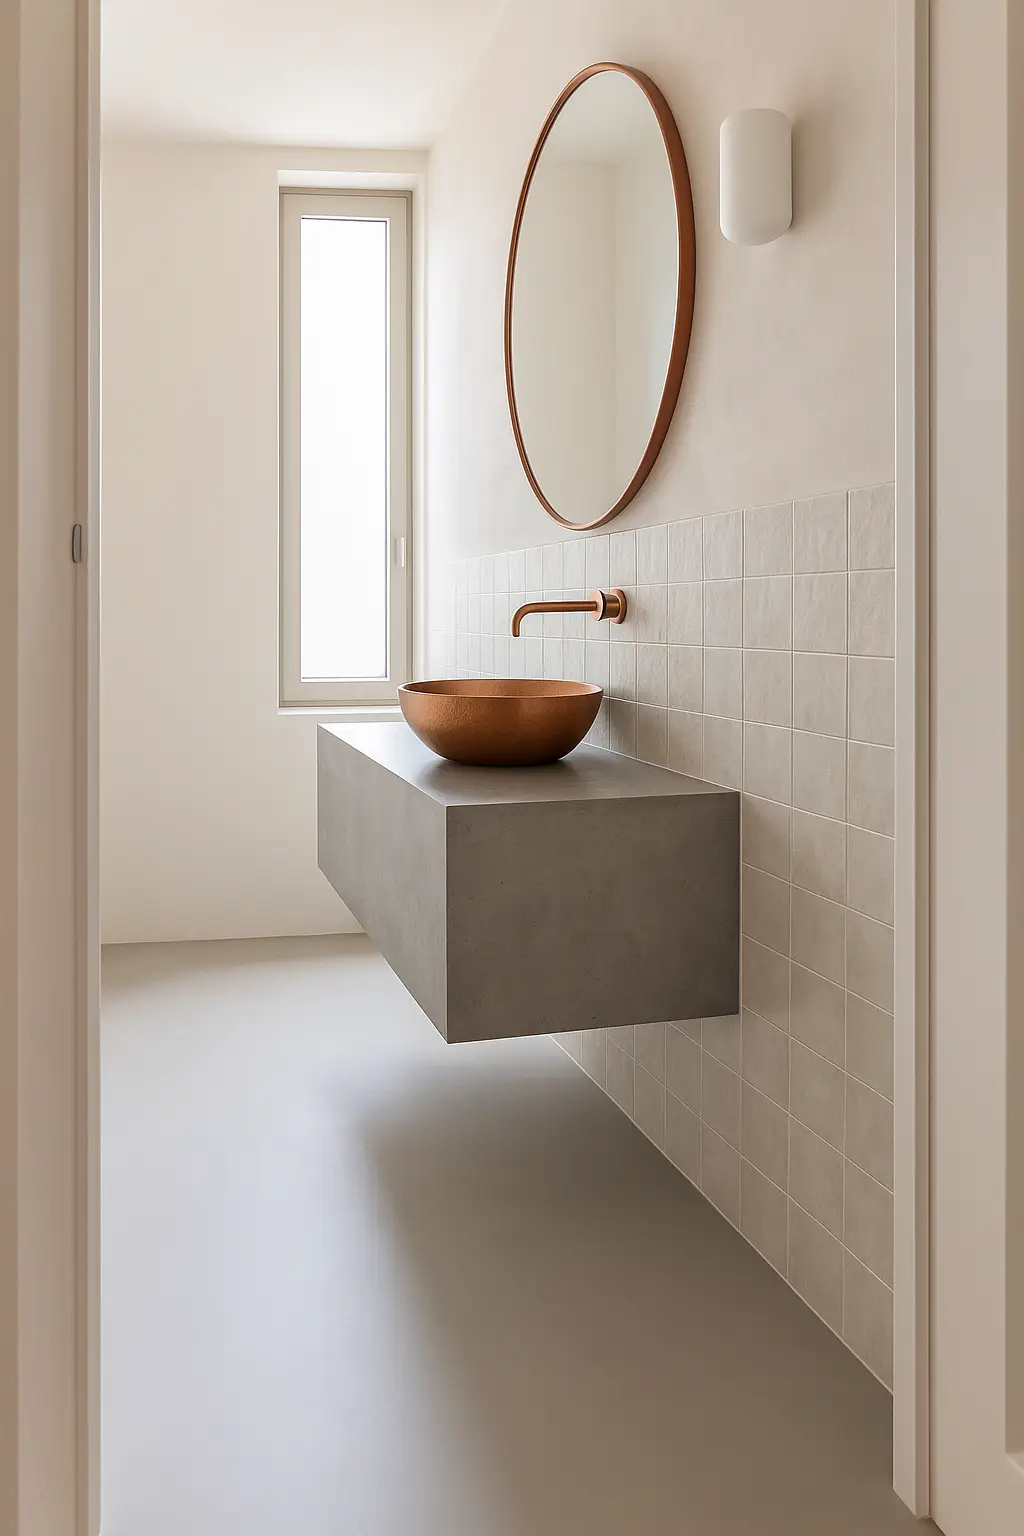
How the combination looks — wall and floor in one image — you can see in our bathroom concept.
Lime plaster and tadelakt
Ancient technique, beautiful and breathable — but labour-intensive.
Lime plasters such as tadelakt have been used for centuries in tile-free bathrooms. They regulate moisture naturally and provide a warm, artisanal appearance. The trade-off: labour-intensive application, recurring maintenance with soap (tadelakt), and limited suitability in splash zones. Those who want the pure lime aesthetic choose it consciously — it simply isn't our product.
Large-format panels and sheets
Fewer joints is not the same as seamless.
Ceramic or synthetic panels in large formats reduce the number of seams, but the seams remain — finished with profiles or sealant. For those primarily seeking a quick renovation it may be an option; a continuous surface without interruptions is not achievable with this approach.
The tile-free shower
The shower is the hardest-working zone of the bathroom. For the shower floor we recommend Lavasteen: inherently waterproof and slip-resistant due to its aggregate structure. For the shower wall, microcement with two to three layers of PU topcoat works well, or Lavasteen for a unified material aesthetic from floor to ceiling.
Sealing the cove joint — the transition between wall and floor — is achieved with cove tape that disappears behind the finish layer. The build-up from substrate to topcoat is explained at substrate and build-up.
The disadvantages of a grout-free bathroom
Five points you need to know beforehand — and how to address them.
1. Execution determines everything. Seamless work is skilled work: a continuous surface forgives neither poor substrate preparation nor rushed application. Mitigate this by having it installed by an experienced team, or — if working yourself — by following the instructions step by step and creating a test sample first.
2. Repairs differ from replacing a tile. Minor damage can be repaired locally, but colour variation is a risk. The matte finish typically makes touch-ups virtually invisible; document your colour and layer build-up for future reference.
3. Wear marks are more noticeable. On large continuous surfaces a scratch is more visible than on tiled work. Therefore choose the right material for each zone — Lavasteen on the floor, not microcement — and maintain the PU topcoat.
4. Microcement is not inherently waterproof. The PU topcoat does that job. On a wall that's fine; on a floor, where the topcoat can be damaged, you want a material that is waterproof in itself. Understanding this distinction is the key to choosing the right material for each location.
5. The price. Professional seamless work costs more than standard tiling. In return: less maintenance, no grout joints that need replacing after years, and a longer surface lifespan. DIY application significantly reduces costs.
What does a seamless bathroom cost?
The price depends on five factors.
The number of square metres of wall and floor, the condition of the substrate, whether there's a shower area, the colour choice (standard or bespoke in NCS/RAL) and the approach: professional installation or DIY. With DIY you only pay for materials; with professional installation you add the craftsmanship — and that's the largest part of the cost for seamless work.
Want a specific figure for your bathroom? Request a quote — we'll calculate based on your dimensions and requirements.
Can it go over existing tiles?
Yes — after preparation. No demolition required.
Existing tilework is an excellent substrate, provided it's properly prepared: clean and degrease, secure loose tiles, sand, level joints, remove dust and prime. Then the seamless finish can be applied. It saves demolition, waste removal and weeks of disruption — the bathroom remains largely usable during renovation. The complete build-up is detailed on substrate and build-up.
Colours and samples
36 standard microcement colours, 20 Lavasteen colours — plus bespoke.
Microcement is available in 36 standard colours, Lavasteen Resin Floor in 20. Bespoke colours are also possible in NCS, RAL and RAL Design. Both materials appear different under daylight than under evening lighting — always assess colours in your own bathroom. Order colour samples and view them in the location where they'll be installed.
Who installs a seamless bathroom?
Have it installed, or do it yourself.
Have it installed. Our own team visits for a site survey, colour advice and installation — throughout the Netherlands and Belgium, for projects from approximately 15 m². In our showroom you can see the materials at full scale. Request a quote for a site survey.
DIY. Outside the region — or simply prefer to do it yourself? You'll work with the same materials as our team. The microcement guide describes every step, and in the workshop you practise the technique under supervision. For floors outside the bathroom: see the overview types of resin floors.